




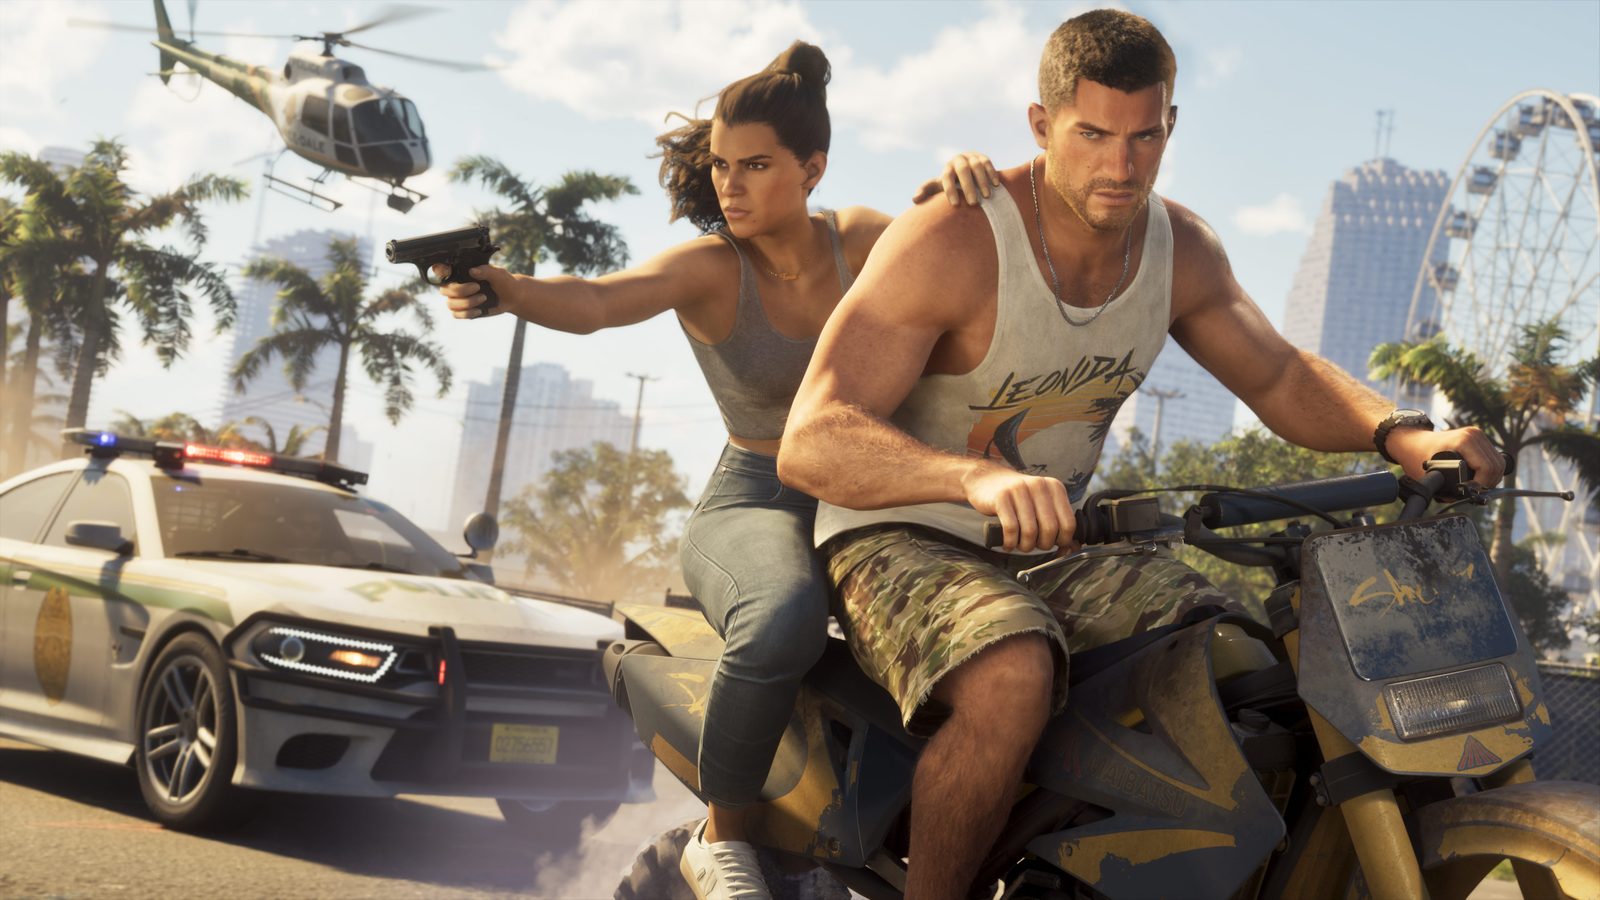
GTA 6 runs at a locked 30fps on every console and has no performance mode, so the fastest way to make it feel sharper is in the settings. A handful of changes on your TV, your console and in the game's own menus cut input delay, speed up the camera and clear up the picture.
Every change below is marked one of two ways:
Advised: makes a clear difference to how the game feels or plays. Change these first.
Optional: a smaller gain, or purely personal preference. Our values are starting points, so try them and keep what suits you.
The guide is split in three. TV and display settings come first because they apply before you even load a save, then the PS5 and Xbox console settings, then the in-game settings tab by tab, with quick answers to common questions at the end.
These are launch-day settings, correct as of 19 November 2026. A future patch may change a default or add new options.
Every change at a glance
Where | Setting | Change to | Verdict |
|---|---|---|---|
TV | Picture mode | Game Mode (or ALLM on Auto) | Advised |
TV | Motion smoothing | Off | Advised |
PS5 | HDR | On When Supported, then run Adjust HDR | Advised |
PS5 | ALLM | Automatic | Advised |
Xbox | Allow auto low-latency mode | On | Advised |
Xbox | Allow HDR10 | On, then run Calibrate HDR for games | Advised |
Display | Brightness Calibration (SDR) | Until the symbol is barely visible, around 20 | Advised |
Display | HDR Calibration, Max Brightness | Your TV's peak brightness in nits | Advised |
Controller | Deadzone, left and right stick | 1, higher only if you get drift | Advised |
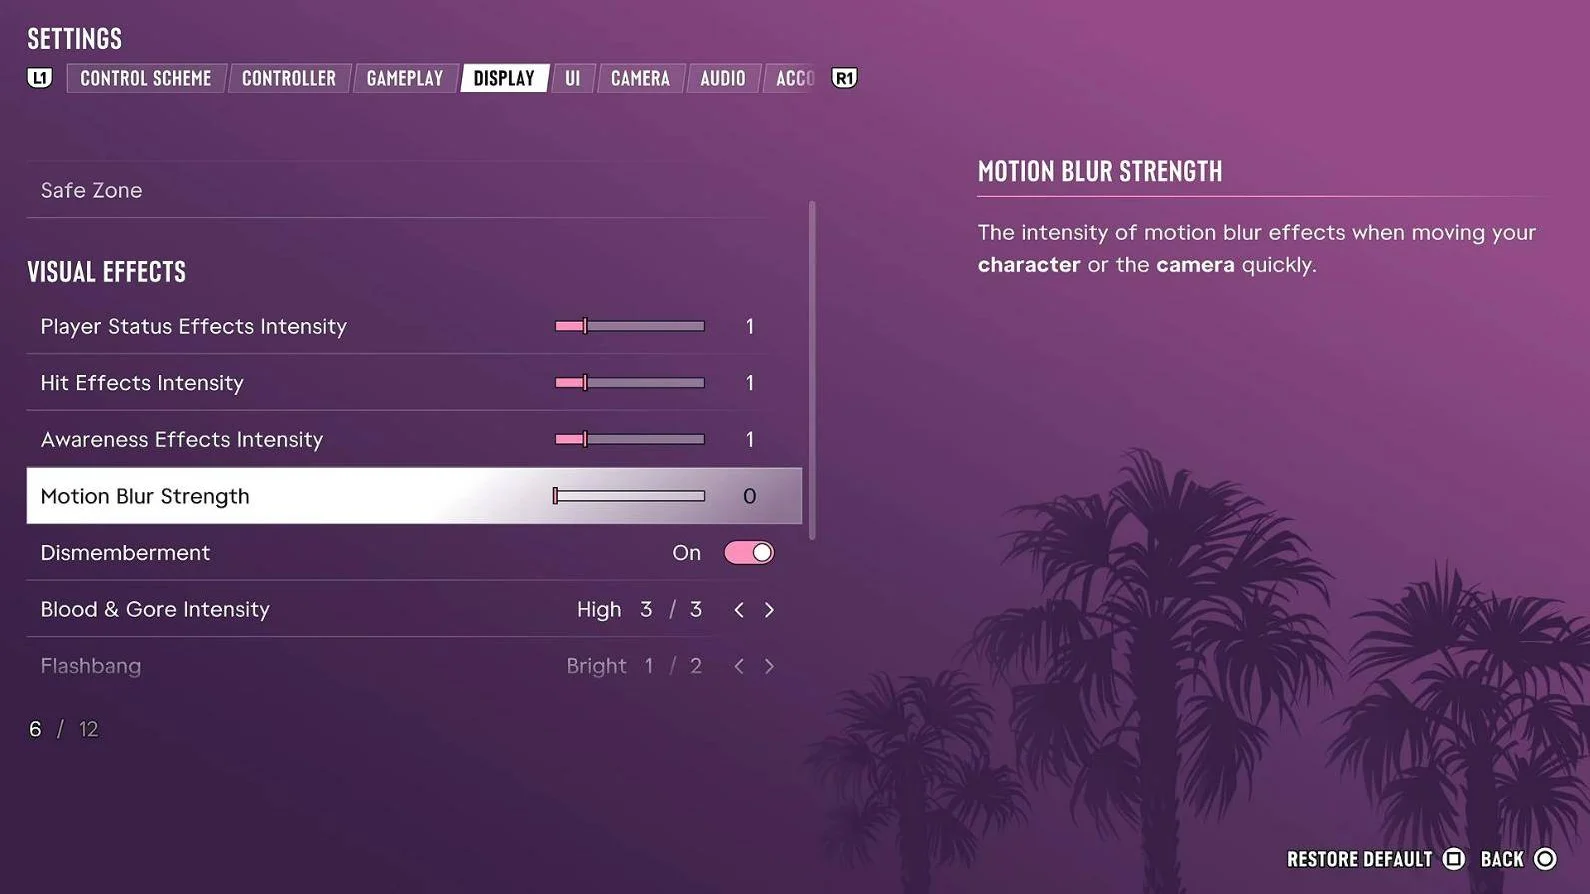
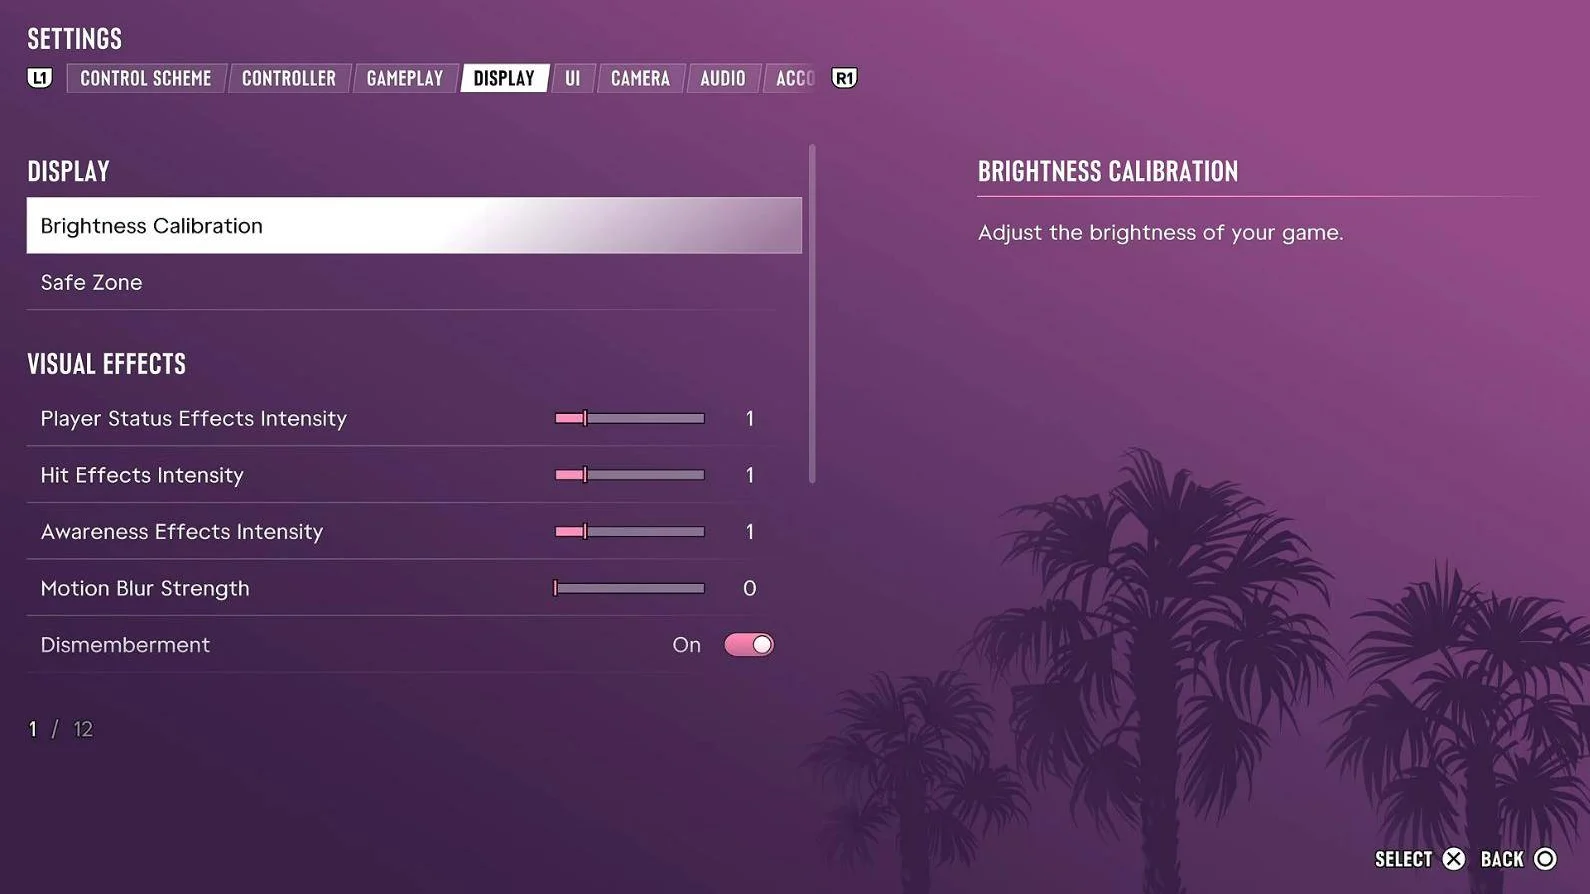
Display | Motion Blur Strength | 0 | Advised |
UI | Minimap | Always on | Advised |
Control Scheme | Control scheme | Classic if you want GTA 5's layout | Optional |
Controller | Look Sensitivity, horizontal and vertical | Your choice; try 12 | Optional |
Controller | Aim Sensitivity, horizontal and vertical | Your choice; try 10 | Optional |
Controller | Look and Aim Acceleration | Your choice; try 10 | Optional |
Controller | Aim Response Curve | Your choice; try Linear | Optional |
Gameplay | Targeting | Lock-On, Partial or Free Aim, your choice | Optional |
PS5 | Trigger Effect Intensity | Weak or Off | Optional |
PS5 | Controller connection | USB cable | Optional |
Gameplay | Movement Speed | Fast Walk | Optional |
Controller | Adaptive Triggers Resistance | Off | Optional |
Controller | Vibration & Haptics Strength | 0, or to taste | Optional |
Controller | Touch Pad Button | Map or Camera | Optional |
Display | Player Status, Hit and Awareness Effects Intensity | 1 | Optional |
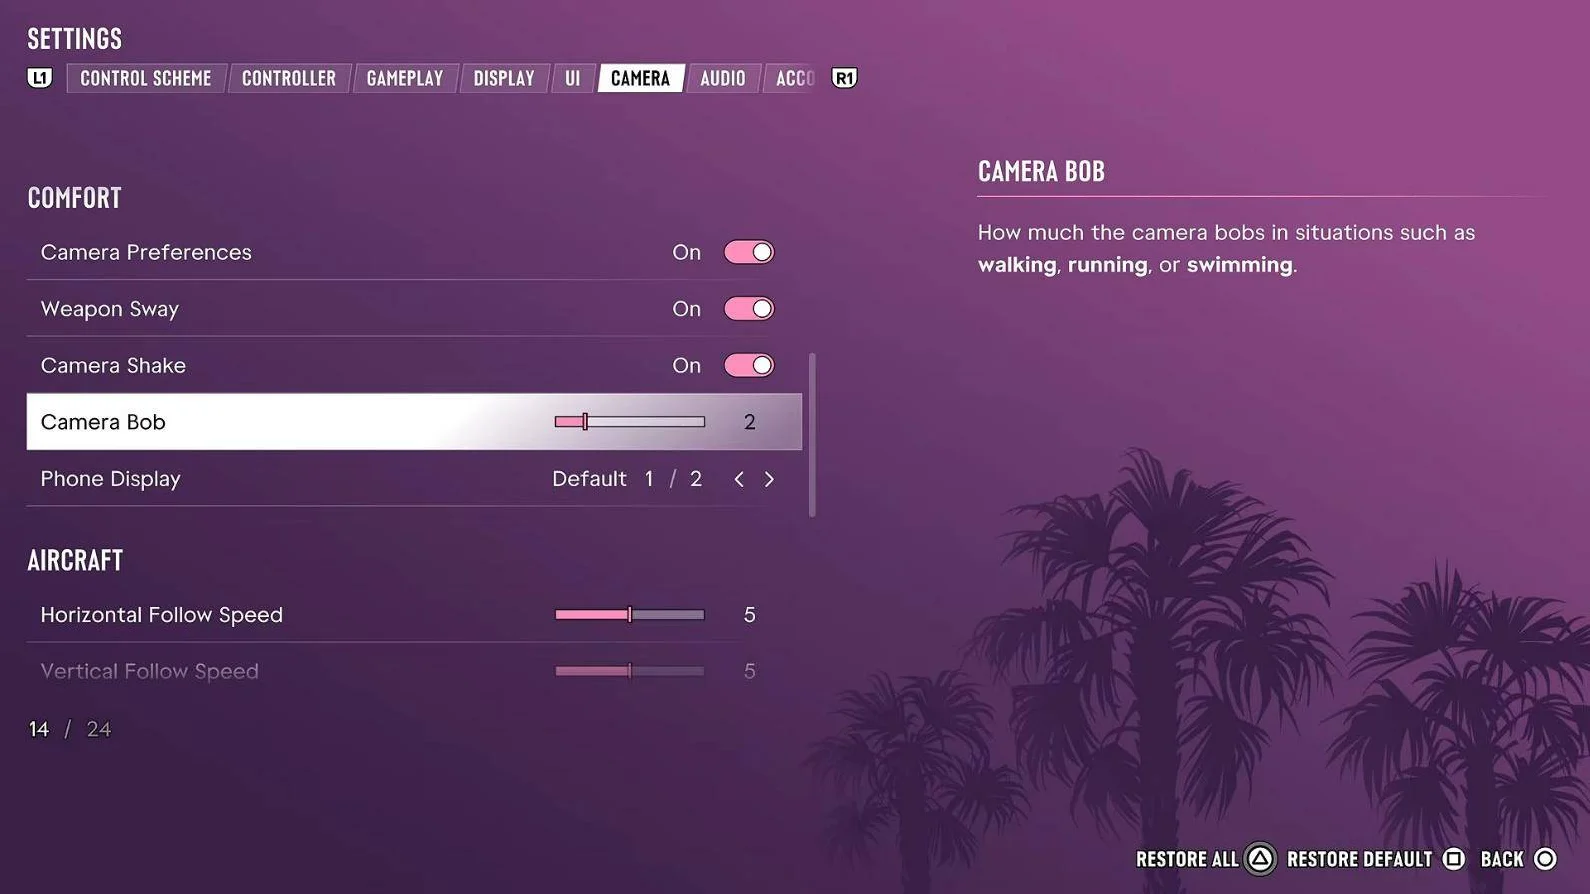
Camera | Camera Bob | 2 | Optional |
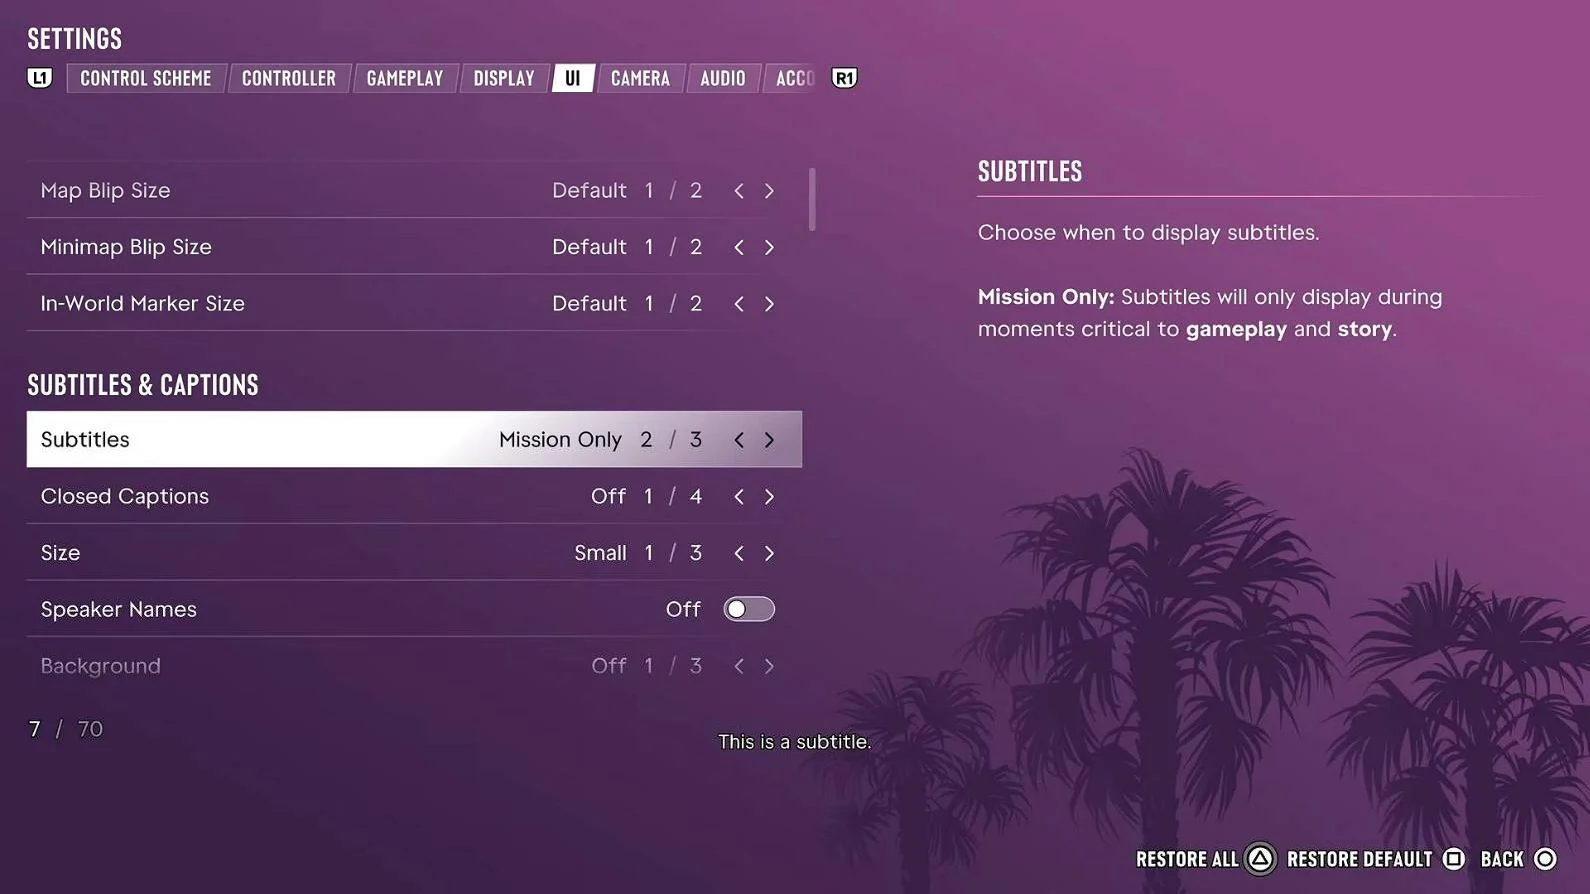
UI | Subtitles | Mission Only | Optional |
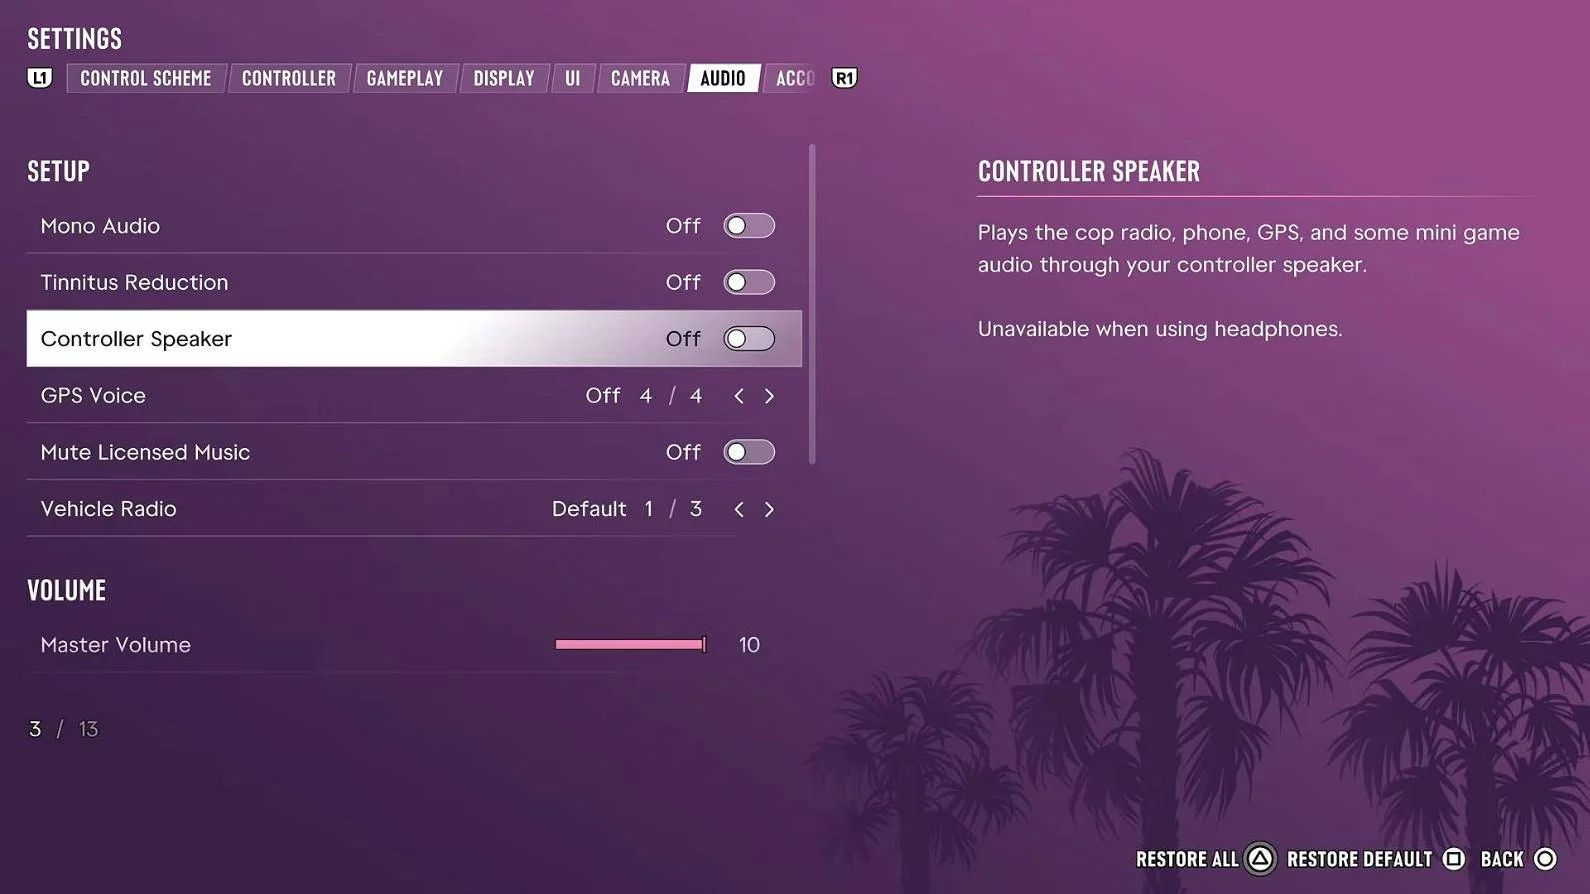
Audio | Controller Speaker | Off | Optional |
TV and display settings
Your TV adds its own delay between a button press and what you see. Two changes on the TV remove most of it, and two calibration screens inside GTA 6 make sure the picture is set for your panel.
Turn on Game Mode (Advised)
Game Mode switches off most of the TV's picture processing, which is the biggest single source of input lag. LG calls it Game Optimizer; Samsung, Sony and TCL call it Game Mode. If your TV has Auto Low Latency Mode (ALLM), set it to Auto and the console will switch it on for you.
Turn off motion smoothing (Advised)
Motion smoothing invents extra frames between the real ones, and every invented frame adds delay. Look for TruMotion on LG, Motion Plus or Auto Motion Plus on Samsung, and Motionflow on Sony, and turn it off. Cinema and Movie picture modes also add processing, so avoid them for GTA 6.
Set SDR brightness (Advised)
If you are not using HDR, open Settings, go to the Display tab and choose Brightness Calibration. Raise or lower Brightness Level until the symbol in the middle is barely visible. The default is 15. On a bright OLED, 20 is a good place to land.
Calibrate HDR (Advised)
If you are using HDR, the same Display tab opens HDR Calibration, with three sliders:
Max Brightness: match this to your TV's peak brightness in nits. A 1,000-nit panel gets 1000. Look up your model if you do not know the figure.
Black Levels: adjust until the logo is barely visible. 50 suits most panels.
Paper White: this sets how bright ordinary scenes look. Use the sample image and stop where detail is clear in both the bright sky and the shadows. Start at 50.
There is no single correct number here, because every TV is different. A wrong Max Brightness is the most common reason HDR looks washed out or too dark.
In-game settings
Open the pause menu and choose Settings. The tabs run Control Scheme, Controller, Gameplay, Display, UI, Camera and Audio, and the changes below follow that order.
Control Scheme: Default or Classic (Optional)
GTA 6 ships with a new button layout. Sprint is on L3, crouch is on Circle and jump or climb is on Cross. If years of GTA 5 muscle memory keep tripping you up, the Control Scheme tab has a Classic option that puts things back:
Action | Default | Classic |
|---|---|---|
Sprint | L3 | Cross (A on Xbox) |
Crouch | Circle | L3 |
Jump and climb | Cross | Square (X on Xbox) |
Classic also moves melee to Circle (B on Xbox). Switch with the D-pad on the first tab of Settings, then back out and confirm to save. Neither layout is faster. Pick the one your hands already know.
Controller: sensitivity and aim curve (Optional)
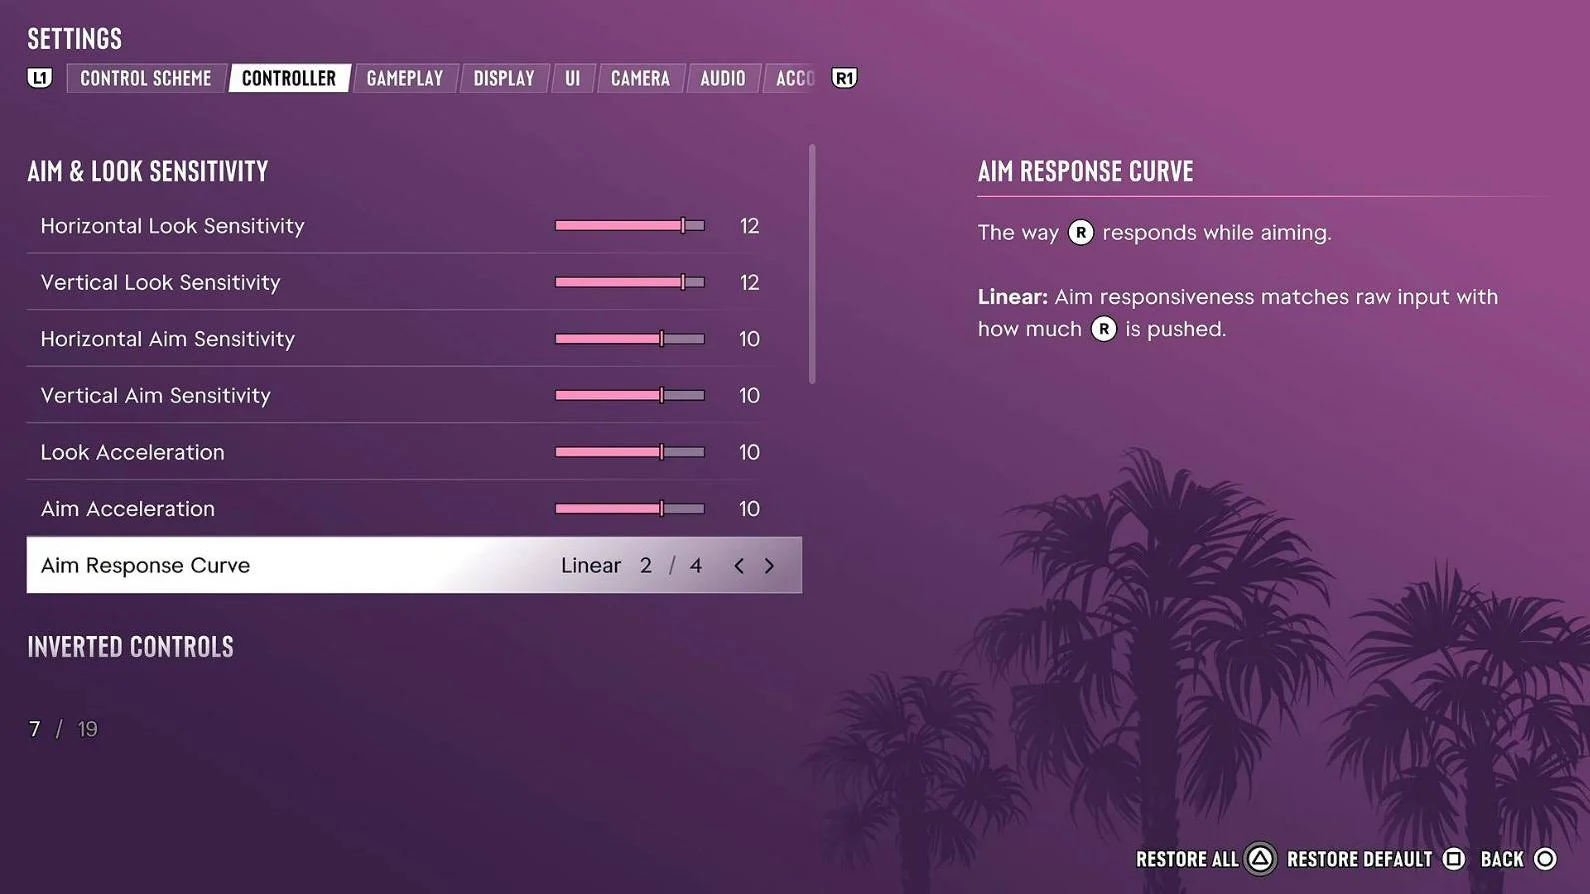
Horizontal and Vertical Look Sensitivity: 12
Horizontal and Vertical Aim Sensitivity: 10
Look Acceleration and Aim Acceleration: 10
Aim Response Curve: Linear
Higher acceleration gets the camera to its top turning speed sooner. Linear makes the aim follow the stick one to one. The default, Standard, softens small movements. Play a few minutes and adjust a point at a time until it feels right to you. If you are happy with the defaults, leave them.
Controller: deadzones, triggers, haptics and touch pad (Advised)
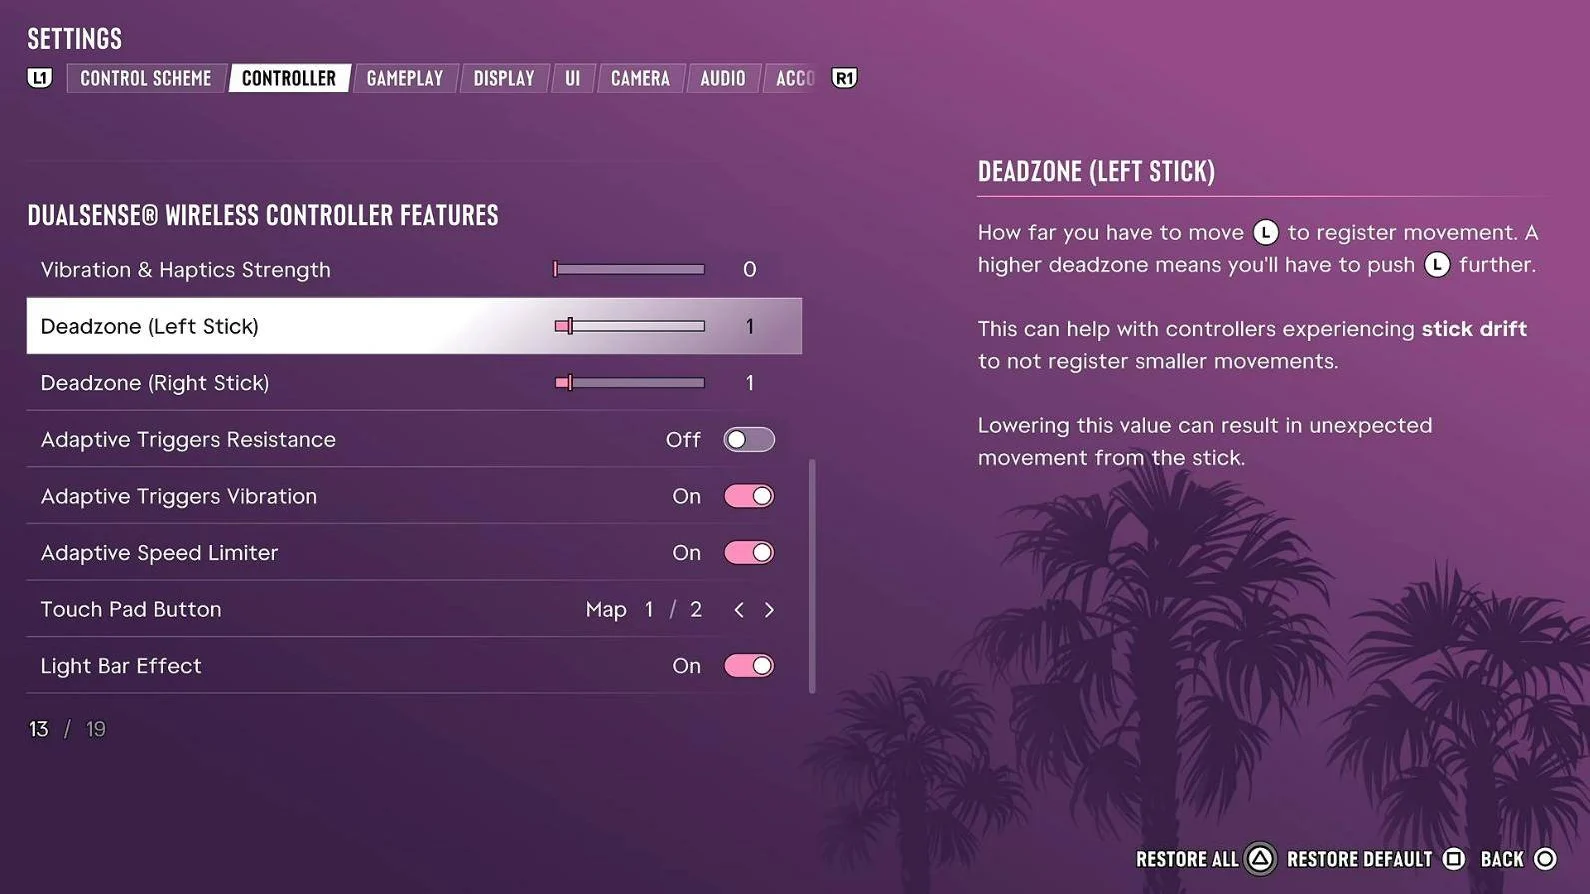
Walk forward and let go of the left stick. Your character should stop at once.
Aim down sights, flick the right stick and let go. The camera should stop turning.
If either keeps moving, raise that stick's deadzone one step at a time until it stops. Avoid 0, because even a healthy controller can drift there.
Adaptive Triggers Resistance makes the triggers physically harder to pull. Turning it off gives a faster, lighter trigger in shootouts. Vibration & Haptics Strength does not add input delay, so it is purely preference. Set it to 0 for a still controller, or leave it up if you like the feedback.
Touch Pad Button chooses what one press does. Map opens the map straight away. Camera swaps between the three camera views instead, with the map one extra press away through the pause menu. Pick whichever you use more.
Gameplay: targeting and aim assist (Optional)
Targeting decides how much the game aims for you, and it changes how gunfights feel more than any slider:
Lock-On: snaps to the nearest target when you aim. The easiest and quickest option on a controller.
Partial: the default. It pulls your aim toward a target but lets you adjust.
Free Aim: no aim assist at all. The most control and the most challenge.
Aim Assist Strength runs from 0 to 5 and fine-tunes how strong the pull is. The same tab has Shooting Assist, Drive-By Assist and Quick Draw toggles, which help at close range, from vehicles and when drawing your last weapon. Leave them on unless you are playing Free Aim for the challenge.
Gameplay: movement speed (Optional)
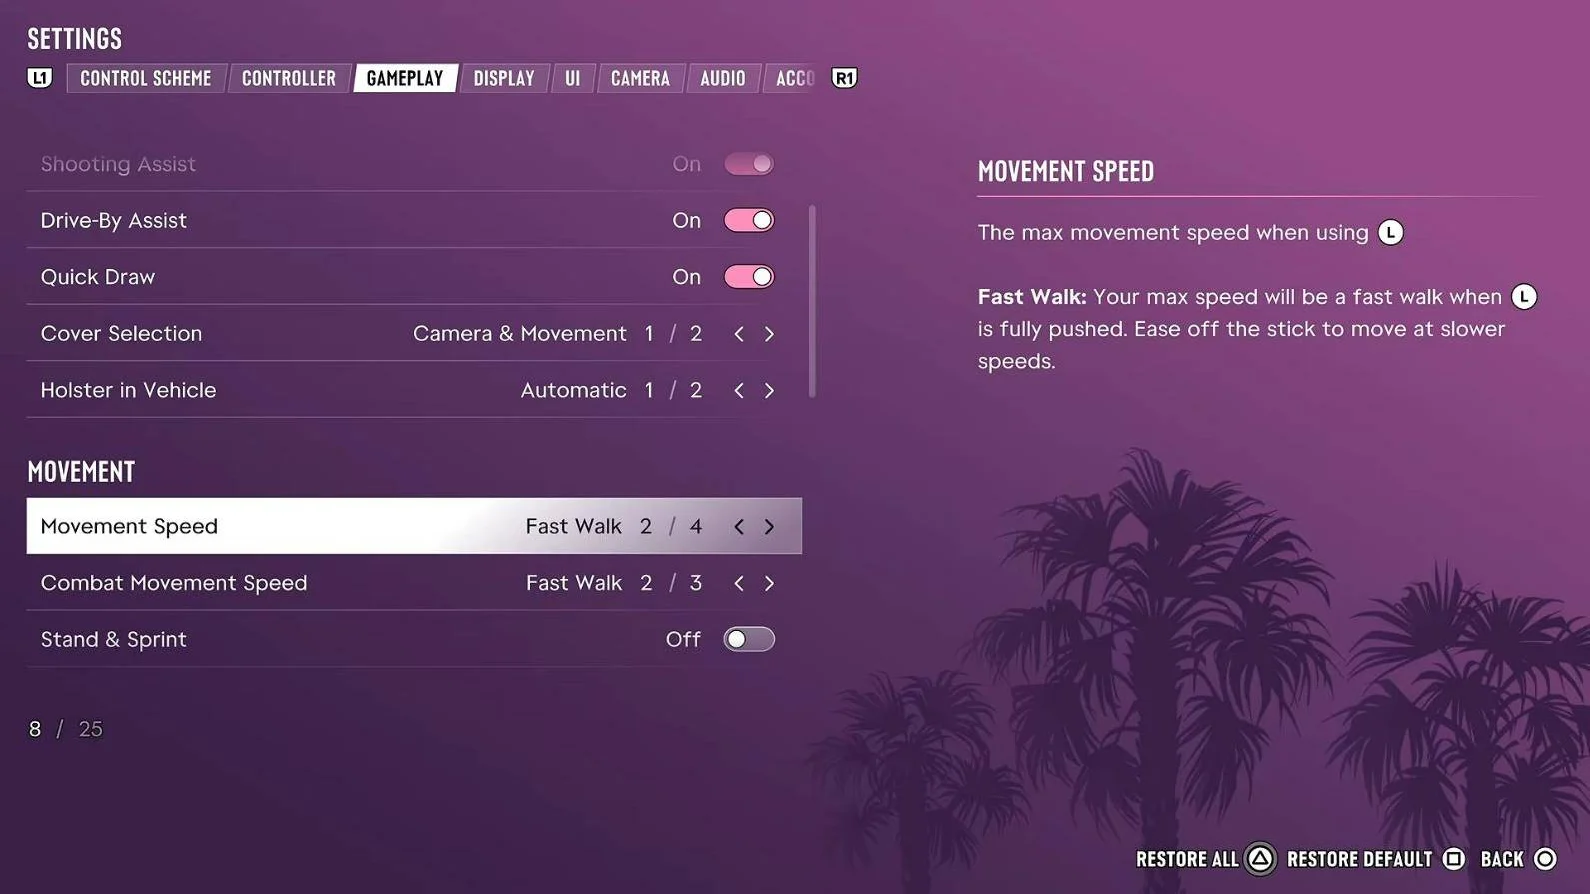
The same tab holds Tap Assist, Hold Delay and Hold Assist. All three are off by default. Leave Hold Delay off, because it makes held inputs take longer to register.
Gameplay: accessibility options (Optional)
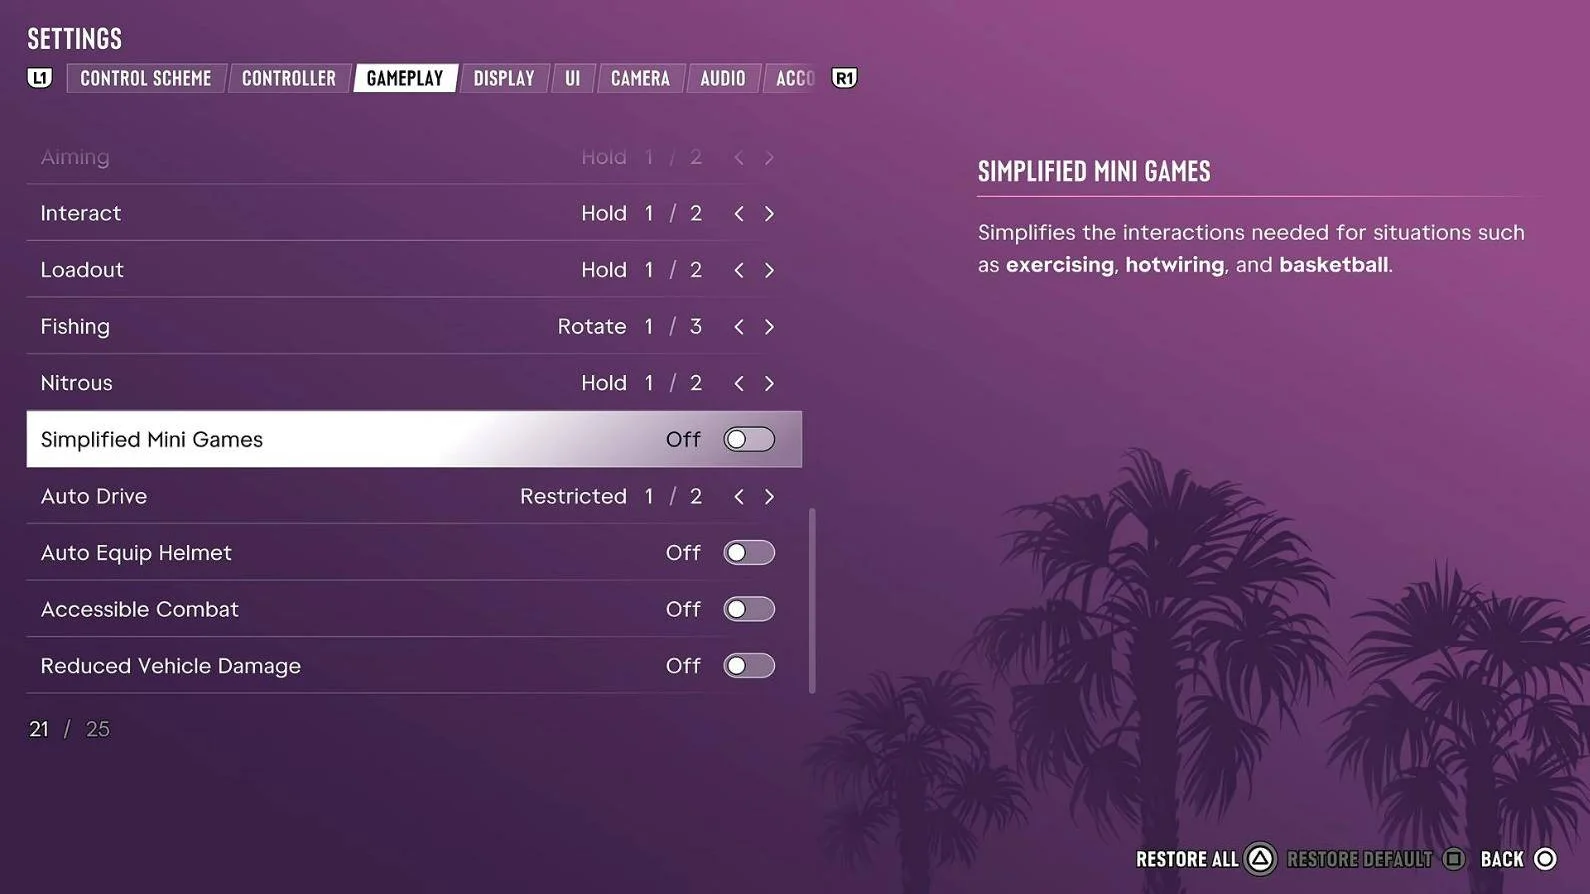
 basketball. Auto Equip Helmet puts your helmet on when you get on a bike. Accessible Combat and Reduced Vehicle Damage lower the damage you and your vehicle take. All are off by default. Turn them on only if you need them.
Display: motion blur (Advised)
Display: visual effects (Optional)
UI: minimap (Advised)
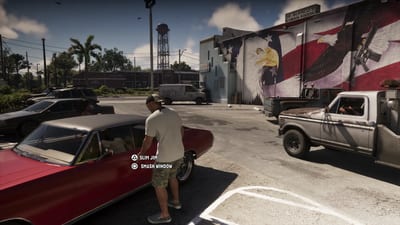
By default the minimap is not always on screen. It appears when you drive or set a waypoint, and a tap of down on the D-pad brings it up for a moment. Set it to stay on permanently so you can navigate and plan an escape without reaching for the D-pad. The game offers this as Minimap Always On when you first start, and you can change it later in Settings. The other modes keep it dynamic or swap it for a slim compass, which suits players who want a cleaner screen.
UI: subtitles (Optional)
Camera: camera bob (Optional)
Audio: controller speaker (Optional)
PS5 and Xbox console settings
These live in the console's own Settings menu, not in the game, and they apply to every game you play. PS5 comes first, with the Xbox Series X|S equivalents after.
PS5: HDR and low-latency mode (Advised)
Go to Settings, then Screen and Video, then Video Output:
HDR: set to On When Supported, then run Adjust HDR on the same page. Do this before the in-game HDR Calibration, because the game builds on the console's result.
ALLM: set to Automatic. The PS5 then tells your TV to switch to its low-latency mode whenever a game starts.
Resolution, 120Hz Output and VRR: leave all three on Automatic. They do no harm, but they do not make GTA 6 any more responsive.
PS5: trigger and vibration strength (Optional)
Go to Settings, then Accessories, then Controllers (General). Trigger Effect Intensity sets how hard the adaptive triggers push back in every game. Dropping it to Weak or Off makes for a lighter, quicker trigger pull and less finger strain in long shootouts. Vibration Intensity is on the same page. Both are comfort choices, so set them how you like.
PS5: wired controller (Optional)
A DualSense on a USB cable can respond slightly faster than one on Bluetooth. Under Accessories, Controllers (General), set Communication Method to Use USB Cable. Most players will not feel the difference, so only bother if you sit close enough for the cable.
Xbox Series X|S: HDR and low-latency mode (Advised)
Go to Settings, then General, then TV & display options:
Video modes: tick Allow auto low-latency mode, so the console switches your TV into its game mode for you. Tick Allow HDR10 if your TV supports HDR.
Calibrate HDR for games: run this once before the in-game HDR Calibration.
Refresh rate and Allow variable refresh rate: leave them as they are. Like on PS5, neither changes how GTA 6 responds at 30fps.
Xbox controllers have no adaptive triggers, so the trigger settings above are PS5 only. The in-game deadzone, sensitivity and vibration options work the same on both consoles.
Settings that will not help
Three things get recommended a lot and make no difference to responsiveness in GTA 6:
120Hz output: the game sends 30 frames a second whatever the console is set to. Leave it on for other games.
VRR: variable refresh rate has nothing to smooth out at a fixed 30fps.
PS5 Pro options: the Pro has no extra menu settings. Its upscaling and ray-traced shadows apply on their own, and it holds 30fps more steadily than the base PS5 in heavy scenes.
Quick answers
Does GTA 6 have a performance mode? No. Every console runs the game at 30fps and there are no graphics modes to choose from.
Can GTA 6 run at 60fps on PS5 Pro? No. The Pro targets the same 30fps as the base PS5. It holds that frame rate more steadily and adds sharper upscaling and ray-traced shadows automatically.
What is the single best setting to change? Game Mode on your TV. It removes more input delay than anything in the game's own menus.
How do I get the minimap to stay on screen? Set the minimap to always on in Settings. By default it only appears when you drive, set a waypoint or tap down on the D-pad.
What are the best sensitivity settings? There is no best, only what suits you. Try look sensitivity 12, aim sensitivity 10 and the Linear response curve, then adjust a point at a time.
Should I turn off motion blur? Yes, for most players. Set Motion Blur Strength to 0 for a much clearer picture when the camera moves.
How do I get GTA 5's controls back? Choose Classic on the Control Scheme tab in Settings.